Rice fritters

HL_bolinhodearroz2


The term peasant food can be overused, and is often an affectation to evoke a bygone era of happy working folk eating simple, nutritious food that has cleverly been discovered as a culinary treasure. Peasant and food put together tends to annoy me a lot. It just feels fake.

And yet these rice fritters, which invariably gain a devoted crowd when I serve them, are genuinely the stuff of everyday lunch in Brazilian homes – peasant or not.

Brazilians, like most Latin Americans, eat A Lot of rice and beans. It really is everywhere, every day, at every meal. It’s no surprise crafty cooks would have found ways to use leftovers of both – bean soup and bean broth being other frequent presence on end-of-week dinners.

As a pre-starter choice in the supper club, these fritters are a complete sell out. If you want to really look the part, call them Bolinho de Arroz and start making those caipirinhas.

You’ll find all sorts of variations of this recipe, most with plain flour, and some debate on whether or not to add milk to the mix. I like to use breadcrumbs in place of plain flour, and no milk. This ensures a crispy first bite, and a soft inside, free from sogginess or oil.

HL_bolinhodearroz7

As for the rice, use whatever next day rice you happen to have lying around. The only exception is risotto. The Italians have perfected their arancini, and it’s a good idea to save your leftover risotto for that. It won’t work so well in this recipe. American long grain, basmati, white, jasmine, it’s all fine. Next time you over order on your Indian takeaway, save the rice for this.

At the Eurovision supper club earlier this month, I made mejadra, a dish of white rice, lentils and onions to share. It went down very well, but we still brought some back home. This is what I used here. Rice and lentils, plenty of spices, quite a lot of onions. Once fried, I made a couple of dips to go with it: a sort of salsa verde with coriander, anchovies and lime, and a yoghurt sauce. Since I’m currently going through the phase of adding dukkah to everything I eat, a sprinkle of that on the rice cakes gave a very welcome final touch. I was given a jar of this spice and nuts mix by a friend who’s gone up several points in my good books since. I suspect there will be many variations of this North African mix. So far, I could detect cumin, semame seeds, oregano and chickpeas in mine.

IMG_3838

The plan was to make a large batch of them and freeze some. That didn’t happen. The freezer is looking quite empty and desolate at the moment.

If you have any Turkish or middle eastern shops near you, it’s worth looking for labneh, which is a strained yoghurt, of thick consistency and quite sharp taste. Failing that, greek yoghurt works too, although it is more mild and sweet, and I’d add some lemon or lemon to it for tartness.

Rice fritters

  • Leftover rice: 4 cups. Long grain, basmati,  easy cook  all work well. Don’t use letfover risotto in this recipe. Save those for arancini.

(if you’re making rice especially for this recipe: prepare the rice one full day ahead and follow the instructions at the bottom of this recipe*)

  • 1/4 to 1/2 cup fine breadcrumbs
  • 1/2 tbsp baking powder
  • 1/2 cup grated parmesan
  • 1/2 cup chopped parsley
  • 3 spring onions, finely chopped, including the green bits
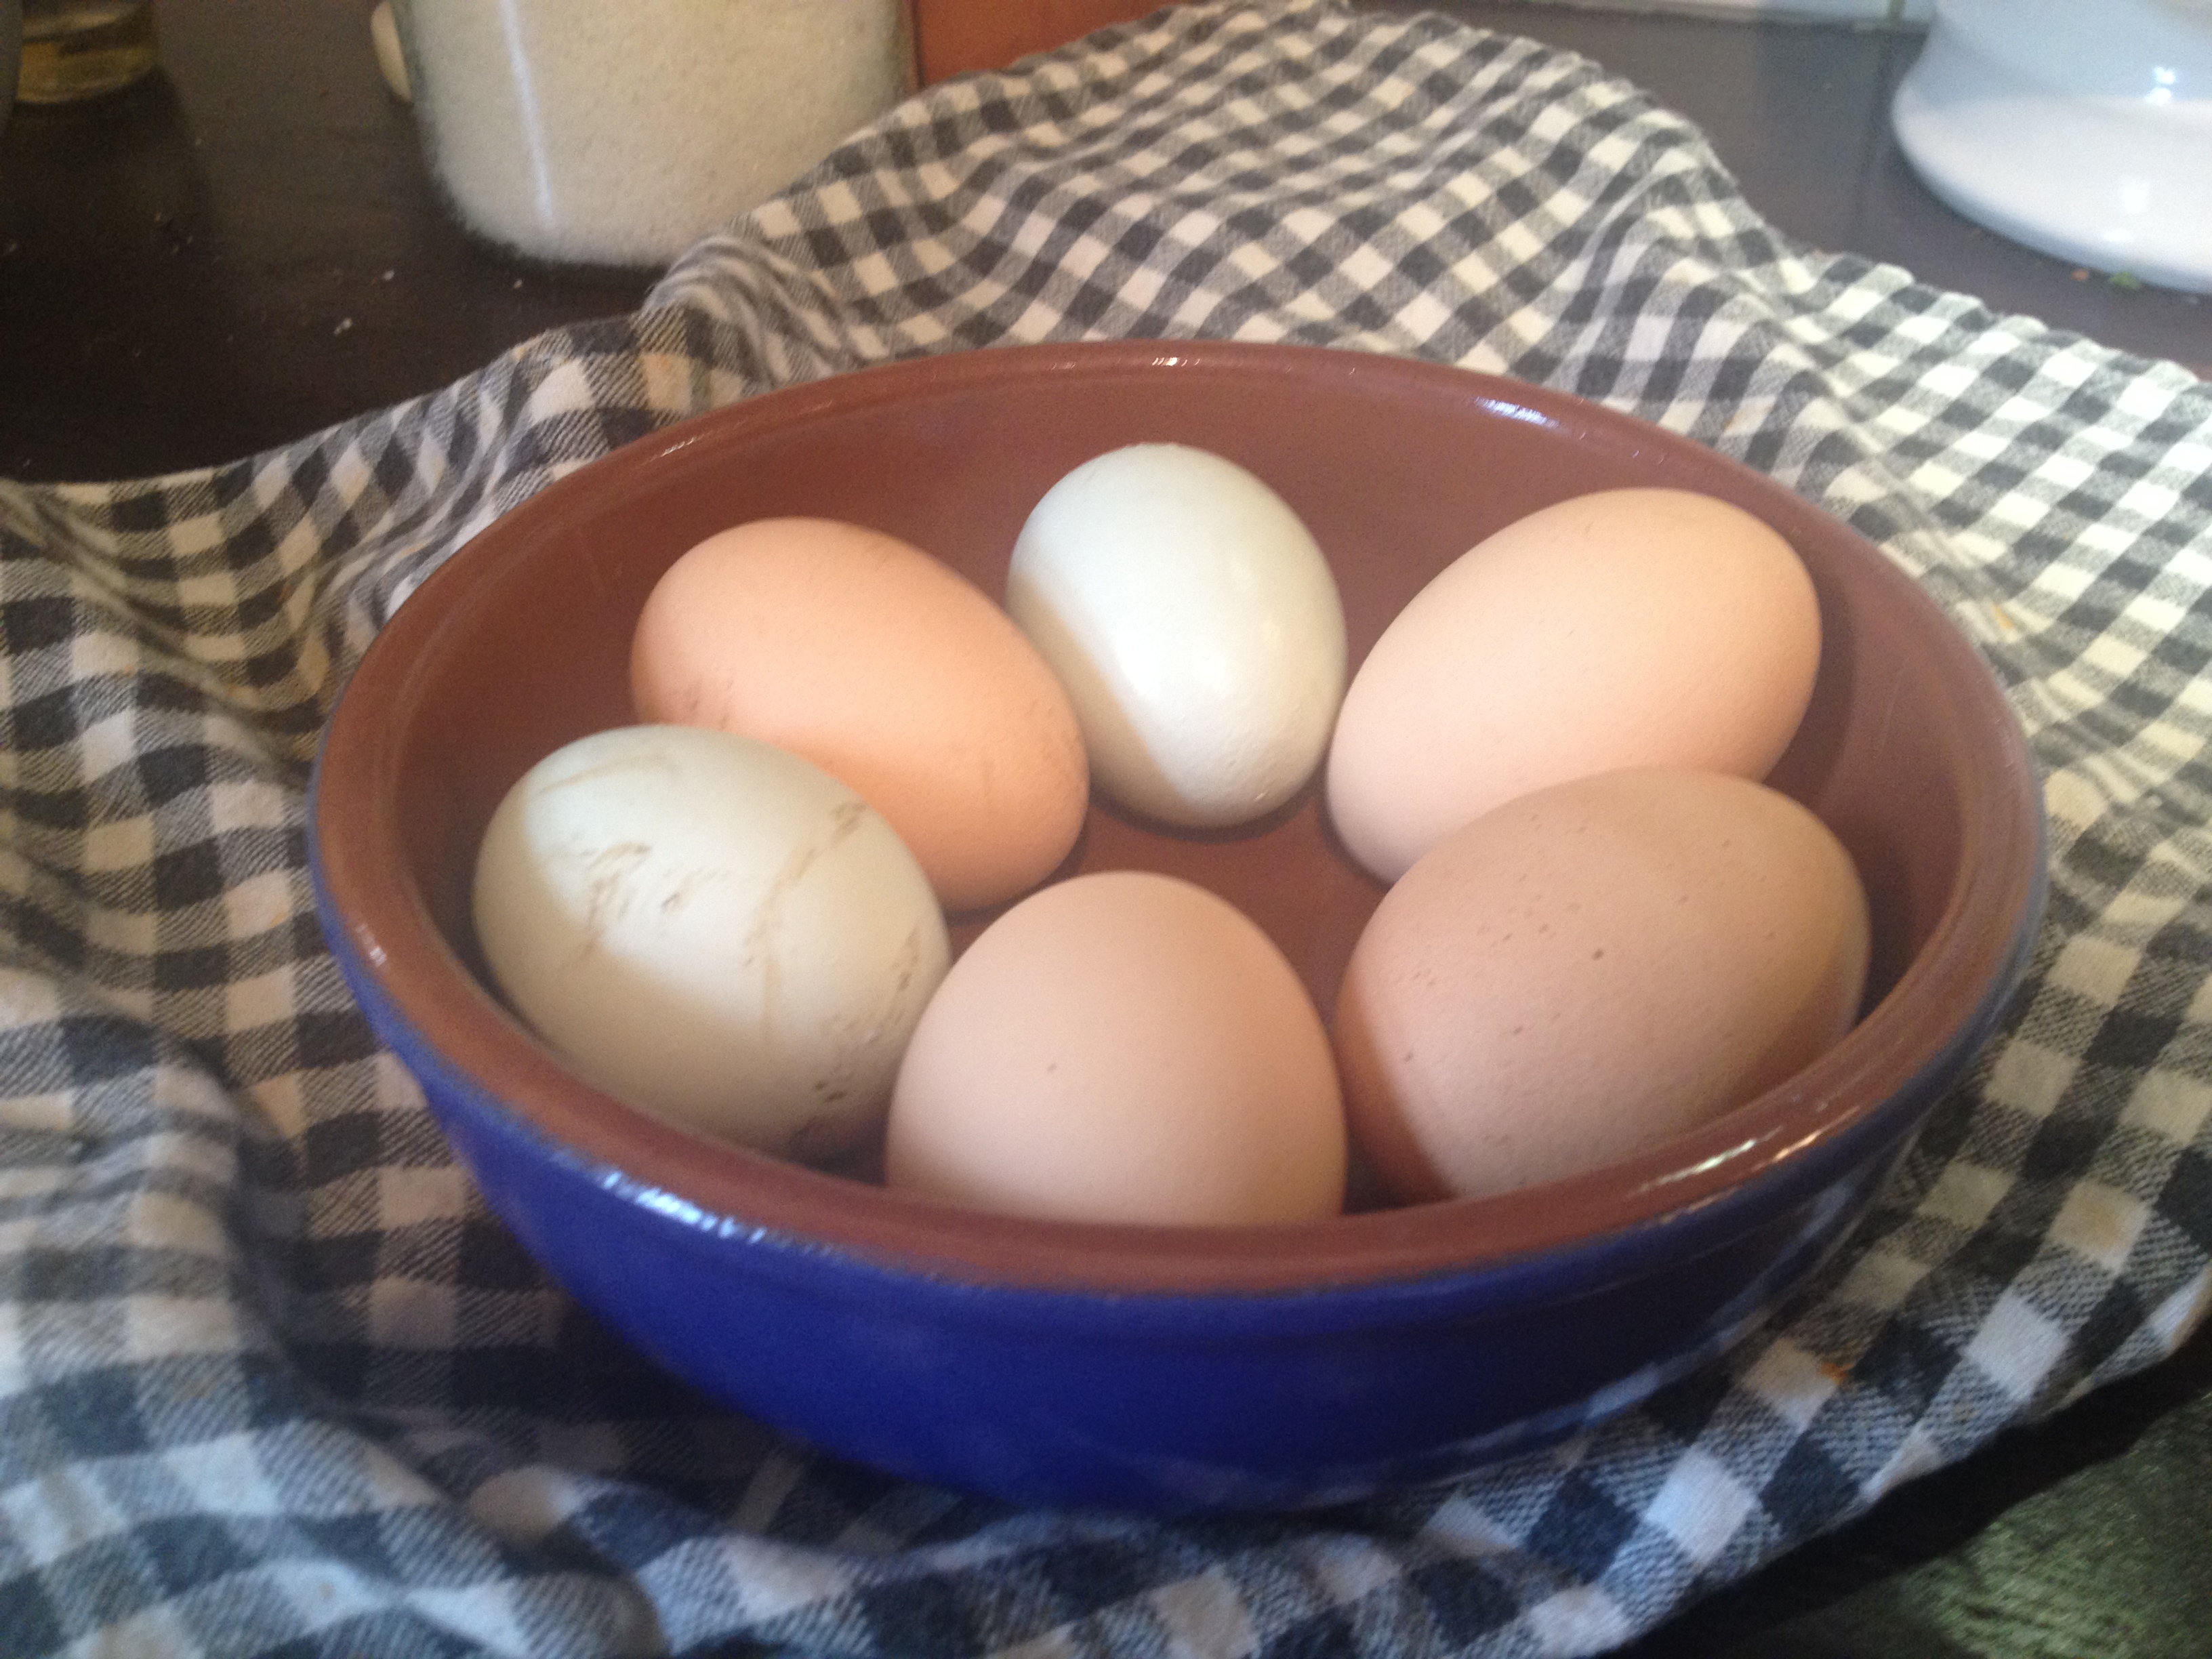
  • 4 eggs
  • salt and pepper
  • Plenty of vegetable oil to fry. I used just under a 1 litre bottle of grapeseed oil. Corn or sunflower oil will work fine too.
  1. Beat the eggs a little bit with a fork in a small bow. Mix all ingredients  – minus the oil! – in a large bowl, starting with 1/4 cup of breadcrumbs. Add the eggs.
  2. The best way to check if the dough is right is to get your hands dirty. Mix it all together with your hands, adding more breadcrumbs if necessary.  You should be just able to roll up the rice cakes, leaving your hands still quite messy and sticky. Taste for salt and pepper.
  3. Heat the oil up in a large frying pan. Allow about 5 cm (2 in) of oil, just enough to cover the cakes. When the oil is very hot, turn the heat down to medium-high and fry the rice cakes in batches, taking care not to overload the pan, as this will bring the oil temperature down and compromise the crunchiness of the cakes. Turn the cakes around until they’re a nice golden colour all over, which should take about a minute. Remove the cakes from the frying pan and let them rest on kitchen towel.

Dips:

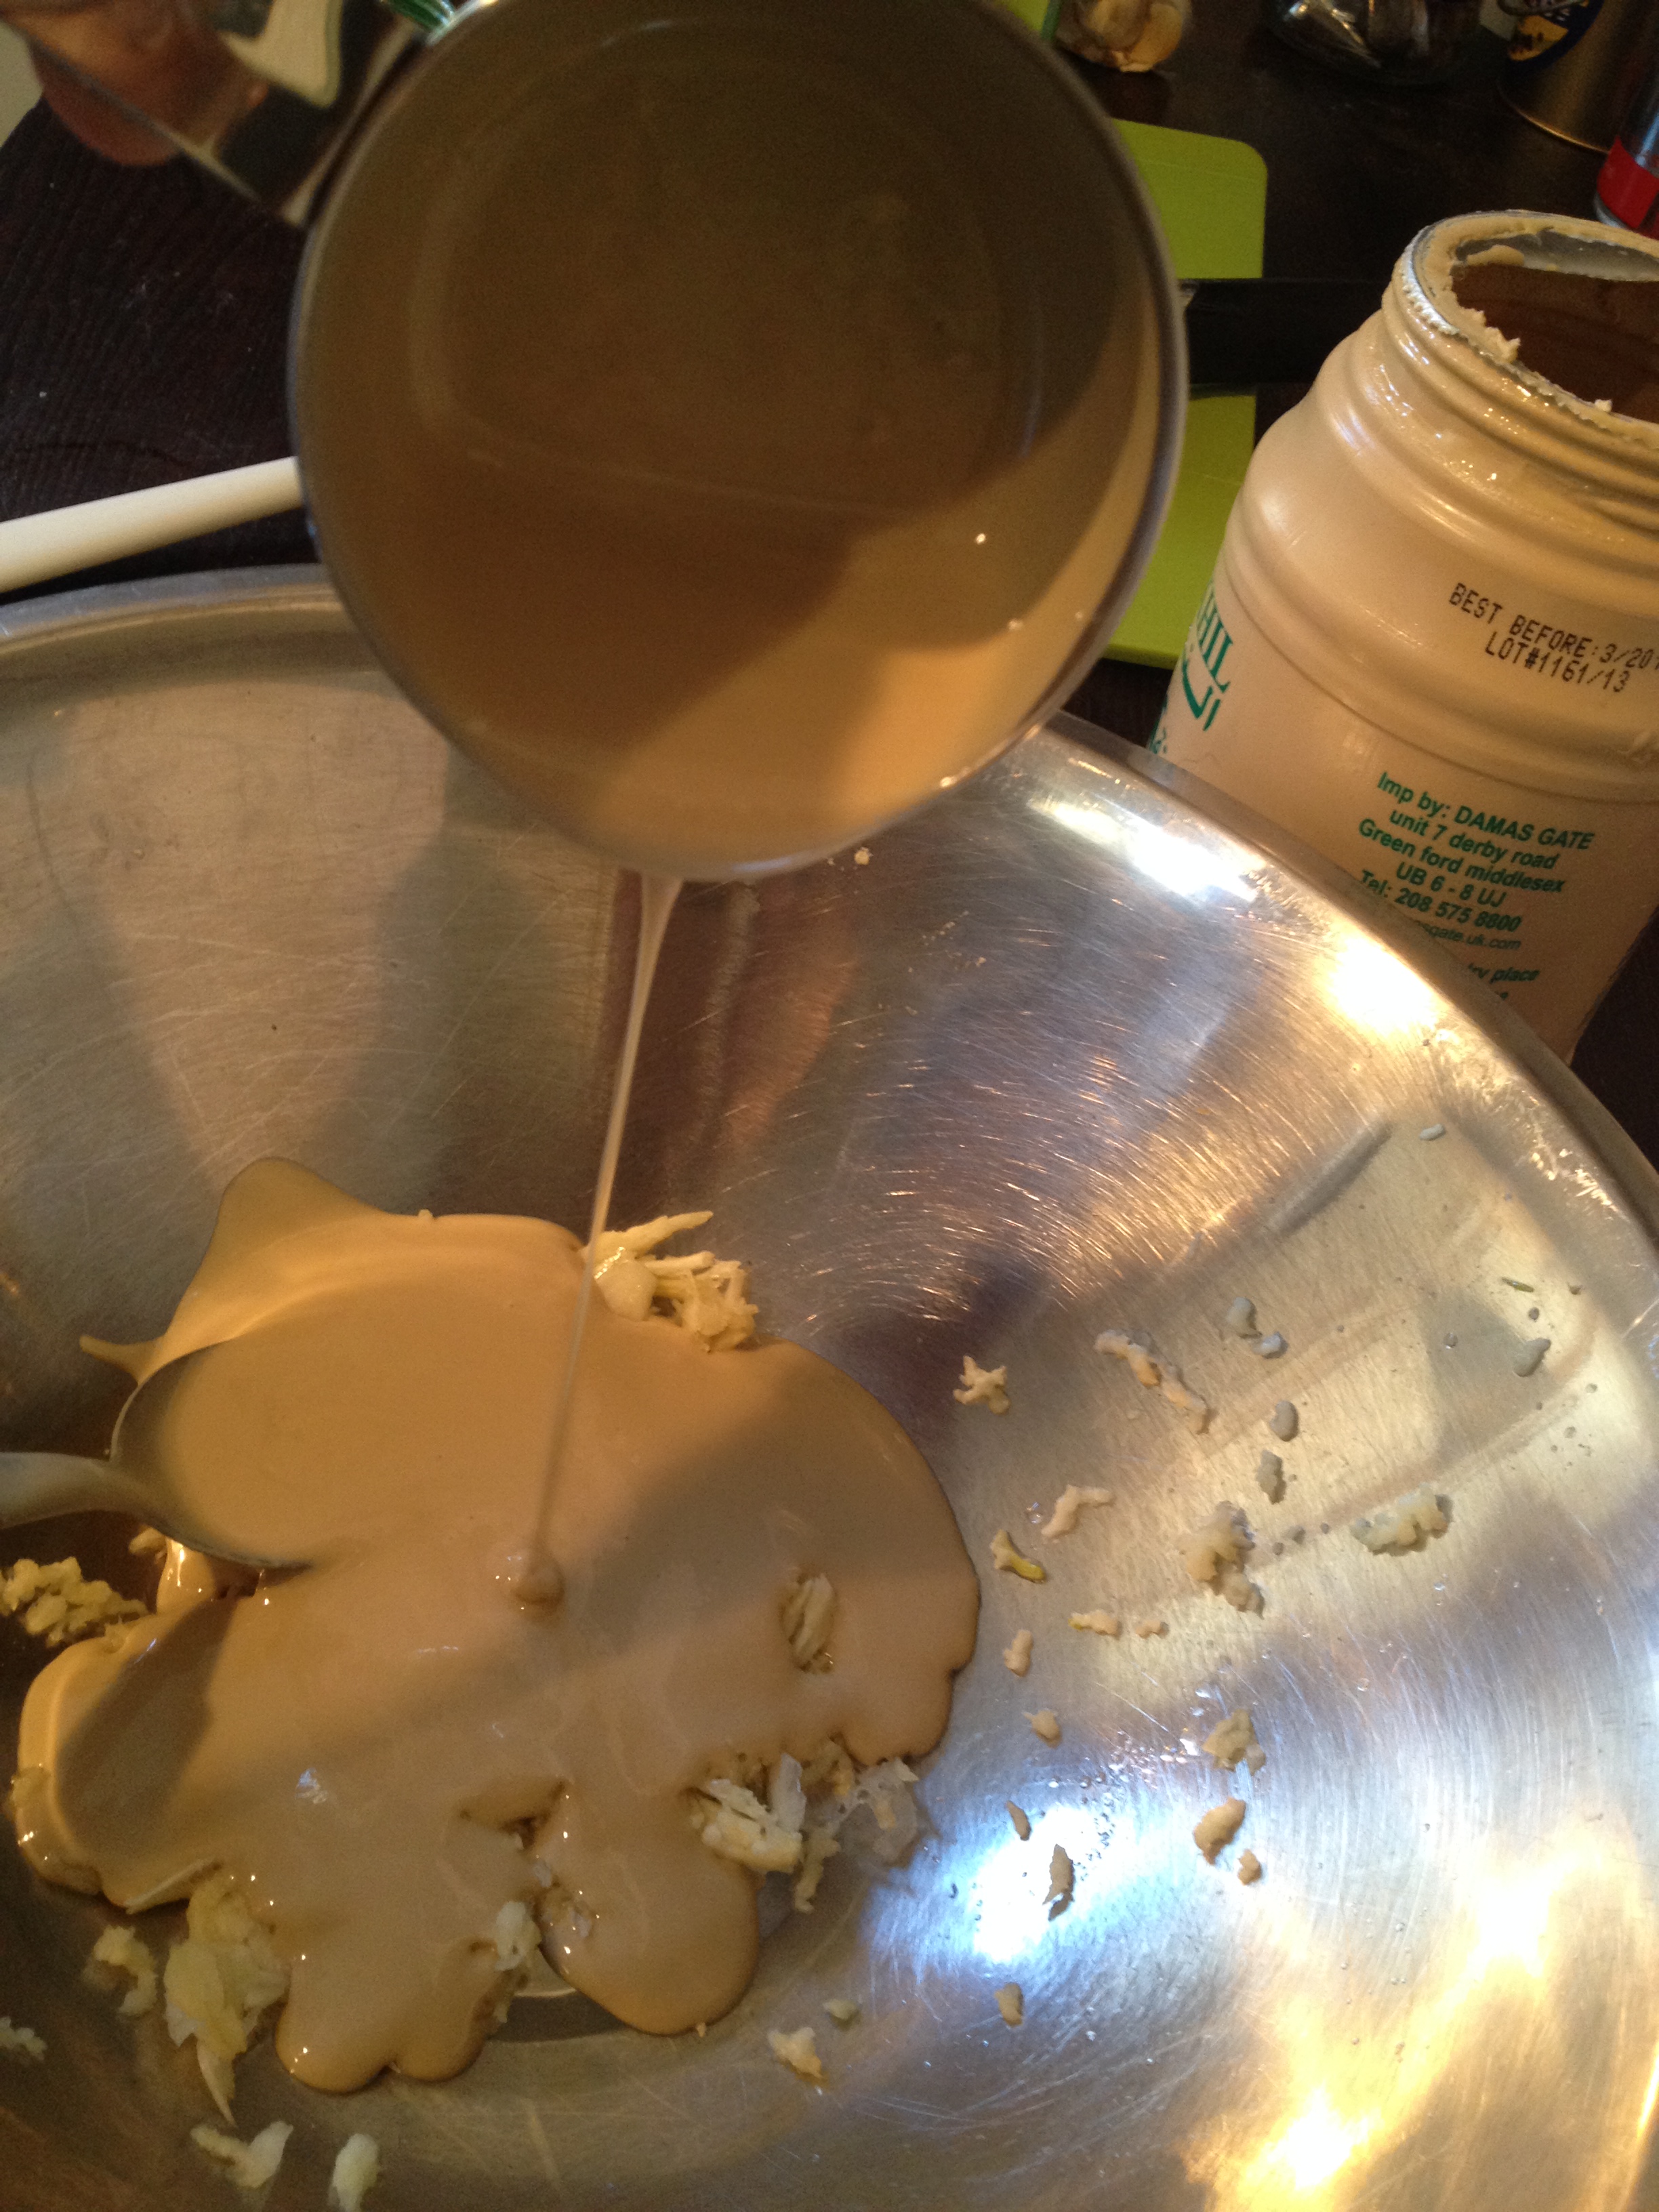
1. Yoghurt: mix labnheh or preferred yoghurt with chopped parsley, one crushed clove of garlic, salt, pepper and a squeeze of lime.

2. green sauce: chop 3 handfuls of coriander, leaves and stem. Mix it in a small bowl with 4 – 5 crushed salted anchovies fillets, plenty of olive oil, a squeeze of lime, salt, pepper, and 1/2 small red chilli, chopped.


*If you’re making rice especially for this recipe:

  • 2 cups uncooked rice
  • 1 onion, chopped
  • 1 clove garlic, chopped
  • salt
  • 1 litre preferred stock
  • vegetable oil (not olive oil)
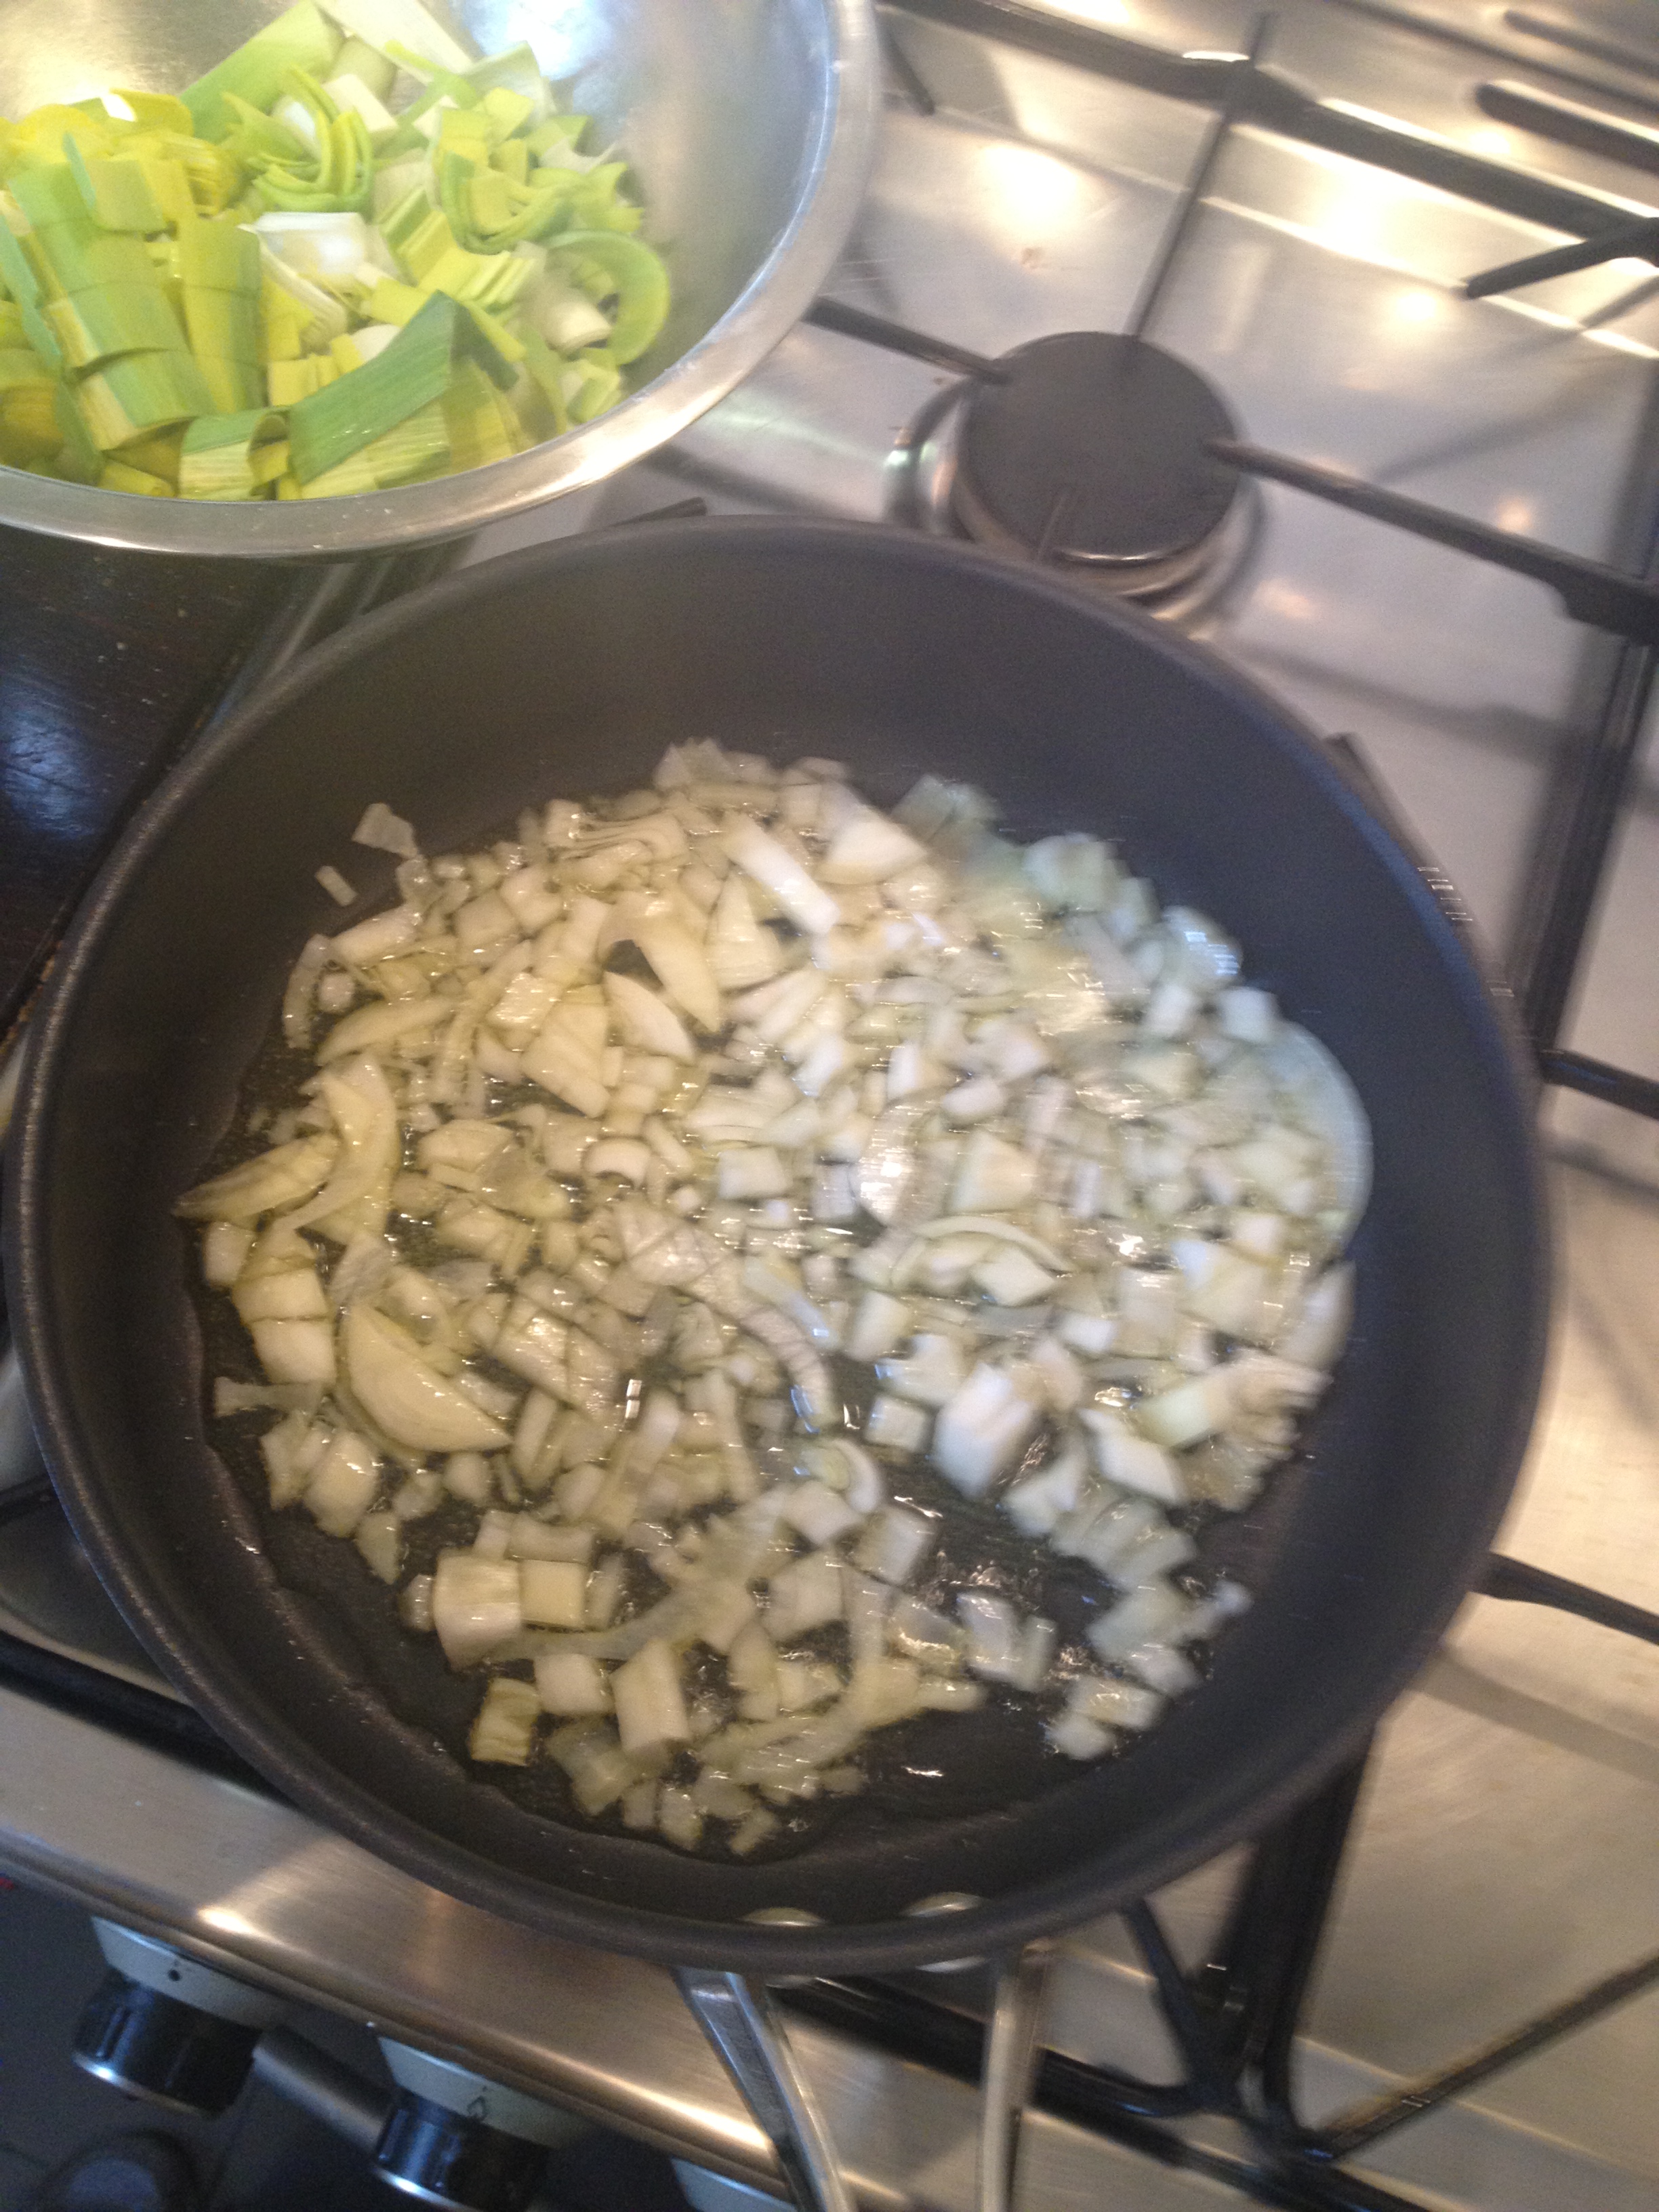
  1. Warm up 3 tbsp oil and add the chopped onions. Mix well and fry for about 5 minutes on medium – low heat until soft and translucent. Add the garlic and fry for another minute, taking care not to burn the garlic.
  2. Add the rice and mix it well for about a minute to make sure the rice is well coated with the oil and onions.
  3. Add the boiling stock. Use enough to cover the rice by about 3 cm (just over 1 in). Lower the heat to low-medium, half cover the pot and let it cook for about 12 to 15 minutes, until the water is evaporated. Taste the rice, and if it’s done before all the water is gone, turn the heat off and drain. If the water is gone and the rice is not yet done, add a bit more of boiling stock or water.
  4. Wait until the rice has reached room temperature, put it in a sealed container and place it in the fridge for 24 hours when it’s ready to use for the fritters.

HL_bolinhodearroz5


Baba Ganoush


babaganoush

I have no idea what happened to winter.

All I know is that, after what felt like a decade of continuous rain, all of a sudden there are flimsy  dresses in the streets – it is England after all and people get carried away with a bit if sunshine.

With this year’s early onset of spring came an array of fresh vegetables we hadn’t seen for a while, and a craving for all things fresh. True, radishes are still looking a bit anaemic, and the stars of the show – strawberries, sweetcorn, peaches – haven’t shown up yet. Still, with the glorious sunshiny weekend we had, it was out with the melted cheese and in with the gin & tonic lemonade  and salads.

IMG_3347

Craving to cook something fresh and summery, I went for a stroll through Lewisham market in search of inspiration for dinner. Lewisham market is a curious place. Compared to its more genteel farmers’ markets neighbours, it could be described as ‘real’. It’s a great place to fill your fridge for the week for a fiver. As long as you’re planning to do some serious cooking. Some of the typical fare on offer include: a pound for 900 spring onions, or a bucket load of lemons, or approximately a lifetime’s supply of coriander. Don’t ask me how it’s all so incredibly cheap, but you do end up with some meal planning challenges. I tend to go with one of my neighbours, and we split the massive amounts of vegetables, or we’ll end up eating onion soup for a fortnight.

IMG_3421

On Saturday, I went a bit overboard on the aubergine, which really is a lovely problem to have. There isn’t a single variation of this most versatile vegetable that I don’t absolutely love. Parmiggiana,  caponata, battered aubergine, I’ll lap it all up. The undisputed king of aubergine dishes, for me, has to be baba ganoush – the smoked aubergine cream also known as one of the top 10 best dishes in the planet. So, with 2 and a half tons of aubergines on my hands, I set to roast those babies and stock up on dip.

IMG_3399

Baba ganoush is so simple to make, but it can be a bit off-putting because it looks fiddly and messy. It doesn’t have to be. Just have a very basic production line and you’ll have smokey, irresistible aubergine that goes wonderfully well with virtually every food – and a relatively tidy kitchen in the process. All you need is a few aubergines, some tahini – or sesame seed paste, widely available from middle eastern food shops or most supermarkets – , garlic, lemons and olive oil. As for herbs and spices, I’ve experimented a lot, and found I like to add more parsley than you’d normally see in original recipes, which explains why my baba ganoush looks a bit green. I also add a tiny pinch of cumin for the smokiness, but I suspect if you roast your aubergines on a barbecue (which I don’t – please refer to paragraph one: living in London), you wouldn’t need the cumin.

IMG_3380

For a quick dinner, you can use the 30 minutes while the aubergines are in the oven to get on with the rest of the meal. I used my Lewisham market bounty to make some roast cauliflower salad with lots of raddishes and a few of the 900 spring onions. Some grilled halloumi cheese, a bit of hummus to pair up with the baba ganoush, and we were set for spring!

IMG_3513

Johnny the cat is quite partial to a bit of babaganoush

IMG_3464

IMG_3479

His and hers hummus: mine has marinated neck of lamb on it.

IMG_3489

Baba Ganoush

This recipe uses quite a lot of parsley and the dip ends up pretty green. Use a bit less for a more authentic looking brownish baba ganoush. As for the garlic, I use a small one per large aubergine. It’s safer to start with 1 or less, and add more if needed. Too much garlic will ruin the aubergine taste. If you don’t have a gas fire, I think the only worthy alternative is a barbecue. Or a wood fired oven if you’re lucky enough to have one. Taking the aubergines straight into the oven without smoking them first, in my opinion, compromises the final taste too much and it’s not worth making it.

  • 4 aubergines
  • 4 (or less) small garlic cloves
  • half a lemon
  • about 3 tbsp extra virgin olive oil
  • 1/2 cup (120 ml) tahini
  • tiny pinch of ground cumin
  • a handful of chopped parsley leaves – more or less according to taste
  • salt and pepper to taste
  1. pre-heat the oven to 200C (400 F)
  2. prick the aubergines all over with a knife and place them directly over a gas fire or barbecue. Let them burn for about 8 minutes, turning them occasionally until the skins are well scorched and blistered.
  3. place the aubergines in a roasting tin and place it in the oven for about 30 min, until very soft. Let it cool
  4. split the aubergines open. The flesh inside should have the consistency of mashed bananas. Scoop the pulp into a blender and discard the skins. Blend it with all other ingredients.
  5. Taste and add more lemon or olive oil or garlic if needed. Serve with a generous drizzle of olive oil.

Midweek dinners, mother recipes and a passion for anchovies

Ah, the lure of the thrifty eating!

I suspect I’m not alone in deriving an enormous amount of pleasure from building an entire meal out of leftovers. I’m reasonably sure I’ve lived through some serious famine in a previous life. My inability to throw food away, often verging on borderline petri dish territory, may also have its roots in my upbringing: how my mother loved to repeat the mantra of  ‘you never lived through a war!’. Now, there are so many holes in that statement, it’s difficult to see where to start, really. Let’s see. My mother is a product of post-war Italy, and left for a better life in the tropics as a young child. And I also happen to have met her own mother, who’s capable of spending hours on end over a stove to make sure everyone gets exactly what they want to eat. The notion of a starved childhood fighting for scraps of polenta and sheltering from snow tempests is one she clearly only knows from the melodramatic Italian children’s literature that she herself read to me! In any case, the concept stuck and I don’t like throwing food away. To the extend that I will find myself in an endless cycle of buying a bit of feta just to fit in with that pie made of scraps, but then end up with leftover cheese and buy something else to go with it, and I’m forever trapped.

HL_cuore

Going from mothers to husbands, mine is vegetarian, and, as much as I care for the man, that sort of behaviour can be a challenge on occasion. Currently, having a freezer stuffed with 2 pork loins, a kilo of tilapias and some packs of bacon even I could not manage on my own,  it is tempting to smuggle some animal protein in a veggie curry and get it over with. Last night, I decided to tackle the fridge, abandoned after a week away with work, and crying out for some clearing out. This is what I made:

IMG_3094

The aforementioned grandmother used to fry potatoes in oil and rosemary, and I don’t know if this particular detail was on purpose or not, but the crispy bits of potato stuck to the bottom of the pan were always my favourite. For me, potatoes made this way beat any results you can get from an oven. Cut the potatoes quite thinly and arrange them in 2 or 3 layers in a deep frying pan, then cover them in nice olive oil. I added to that: smoked paprika, black olives, rosemary, thyme, salt and pepper. And since the resident vegetarian insisted on having dinner too, towards the end of cooking time, I split the portion between 2 pans, adding anchovies to mine and a couple of eggs to his. The eggs cooked gently and ended with a runny yolk, which immediately took the taste and colour of the paprika. The anchovies melted beautifully into the oil, producing a rich and velvety sauce to coat the potatoes and bring a contented smile to my face.

IMG_3098

And then I tackled the suspicious looking tomatoes: panzanella, or stale bread and tomato salad, really is such a simple solution to mankin problems. The only trick here is to prepare the salad not more than 15 minutes before you’re planning to eat it, so the bread doesn’t get too soggy.

IMG_3099

A last minute update: just before posting this, I found an abandoned aubergine in the bottom drawer of the fridge, and that went with the leftover olive oil from the previous night’s potatoes, some fava beans, and the lot into a cous cous.

And now we move to the freezer.

IMG_3101

Smokey potatoes in olive oil and anchovies

Add other ingredients you may have lying around that go well with the potatoes. The one thing not to compromise here is the quality of the olive oil. Use the nicest you have.

Ingredients:

  • 4 medium potatoes. I used Maris Piper
  • enough extra virgin olive oil to fill about 2 inches (5 cm) of a deep saute’ pan
  • a handful of black olives
  • 1 tbsp smoked paprika
  • a few sprigs of rosemary and thyme
  • salt, black pepper
  • 5 salted anchovies fillets

Peel the potatoes and cut them into approximately 1 cm (just under 0.5 in) slices

Fill a deep saute’ or frying pan with plenty of extra virgin olive oil and warm it in a medium heat, but not too much as to become smoky.

Add the potatoes, forming a tidy layer to cover the bottom of the pan.

Sprinkle some salt and pepper, smoked paprika, then place a couple of springs of rosemary and thyme.

Add a second layer of potatoes and continue with the same ingredients until you used all the potatoes. Up to 3 layers will cook well. Any more, and you’ll end up with burned potatoes and the bottom and uncooked ones in the middle.

Set the eat to lowr, cover the pan and let it cook for 15 to 20 minutes.

Towards the end, when the potatoes are almost tender, add the anchovies. Push a few of them towards the bottom of the pan. They will melt quickly and mix with the olive oil and paprika sauce. Leave the rest of the anchovies on the top of the potatoes.

Cover the pan again, cook for a further 5 minutes, and it’s ready.

Eat with crusty bread to mop up the juices.

Vegetarian version:

Replace the anchovies by 2 eggs. Carefully make a small nest by shifting a few potatoes to the side, and gently break an egg into it. To the same again with the other egg, then cook for only 2 to 3 minutes, so the yolks remain runny.

Ribollita of Sorts

cavolo nero

Cavolo nero is such a beautiful vegetable. The dark textured leaves would look lovely in any garden, and it has a sophisticated shade of green that would be perfect on my dining room curtains – had my dining room been approximately 16 times more spacious than it is. It looks very grown-up and much less everydayish than its cousins cabbage and kale. For me, it’s also immediately associated with ribollita, the rich Tuscan stew-soup dish. And to the beginning of the end of summer.

On Saturday, after an early rise and some exercise, I felt entitled to go on a meat feast at Brockley market. I had a BLT breakfast, then bought a healthy portion of calve’s liver for dinner, and evidently could not resist a bag of homemade pork scratching for a pound. On the way home, through the much more down to earth Lewisham market,  the sight of cavolo nero made me want to cook something rich and warm for the first time in weeks.

Ribollita is made with dark greens, beans – usually cannellini – and stale bread. It’s the ultimate thrifty food – the name ribollita translates as re-boiled, and this dish should keep

Johnny the cat is surprised at my use of chickpeas

Johnny the cat is surprised at my use of chickpeas

going for days with no risk of waste. I quite fancied chickpeas in place of beans, which is why I’m a bit wary of calling this dish ribollita. Of all the people I’ve eaten with, Italians tend to be the most precious about even the slightest variations to their dishes. I once caused a never-ending squabble between a group of Italians at work when I asked one of them for his recipe of carbonara. Little did I know the question of using onions or garlic was such a contentious one, and to this day I can’t eat a plate of carbonara without the guilty feeling I’m betraying someone. So, please accept my apologies for having the nerve of calling this ribollita. Not only did I use chickpeas, I also chucked in the leftover parsley sauce that was lying around from the previous night’s dinner – a very nice aubergine pasticcio that successfully auditioned for a future supper club. The parsley sauce worked very well as a replacement to the final splash of olive oil before serving. Since we’re confessing to food heresy, here’s another one. The smell of freshly baked naan at my local Indian shop was too sweet and irresistible, so I grabbed a packet and used that instead of a more traditional crunchy, thick crust bread. I did eat half of it with the parsley sauce, so we’re lucky there was any of either left for my counterfeit ribollita.

If you want the real thing, the River Cafe’ blue Cookbook has an authentic recipe. And you can also find the most amazing Tuscan recipes at Jul’s Kitchen blog. For an approximation of ribollita, here’s the one I made. Comforting and just warm enough for the slightly cooler evenings of late August. Ideally, make it and wait to re-heat it a few hours later/next day. It will taste significantly better.

Calls Itself Ribollita

  • a large bunch of cavolo nero, chopped. About 500g / a colander full of chopped leaves and stalks
  • 2 large carrots
  • 1 yellow pepper
  • 1 large onion
  • 3 stalks of celery
  • 3 cloves of garlic
  • 1 tsp cumin seeds
  • 1 to 2 dried red chilies
  • 4 to 5 tomatoes, peeled and chopped. A tin of chopped tomatoes will work fine
  • 400g cooked chickpeas. Keep the cooking water. If you want to use ready cooked chickpeas, look for a good brand and large chickpeas. I find the ones in glass jars are always of considerably better quality than the tin ones.
  • 2 handfuls of stale bread pieces
  • a handful of parsley
  • 1 tsp capers, washed
  • extra virgin olive oil

Method:

  1. Chop all the vegetables. Chop the dry chilies very finely.
  2. Gently warm 3 tablespoons of olive oil in a large cooking pot
  3. Cook on low heat: cumin seeds, dry chilies, onions, celery, carrots, garlic. Let it sweat for 15 minutes, stirring occasionally, until the mixture is soft and well cooked, but not brown.
  4. Add the chopped peppers and tomatoes, turn the heat up to medium and bring it to the boil for a couple of minutes
  5. Add all the chopped kale and cover it for a couple of minutes so the leaves reduce in volume a bit.
  6. Mix well, then add the chickpeas and a couple of ladles of the cooking water.
  7. Season with salt and pepper, mix well, half cover half the pan and let it cook for 20 minutes on a gentle heat. If too dry, add a bit more of the cooking water. It should not be a soup, but more the consistency of a stew.
  8. After 20 minutes, check that the greens are well cooked and the liquid thick enough. Cook for 5 to 10 minutes more if needed. Add more liquid if needed.
  9. If you have time, leave the ribollita to rest for a few hours or up to the next day before reheating it and serving it.
  10. Chop the parsely and capers and add enough olive oil to cover them.
  11. Serve it in bowls and drizzle the parsley sauce over it.

ribollita_HungryLarder

My Go-To Picnic Pie

IMG_0379

You could safely call this a rustic pie. Sophisticated it ain’t. It started as the classic Italian torta pasqualina (Easter pie), but, over the years, has evolved into a fail-safe, fridge clearing, no fuss crowd pleaser. With its humble ingredients and rugged looks, I wouldn’t serve this at an introduction dinner to the in-laws, but, get to know them a bit, and they’ll love you forever for this pie.

IMG_0362I’ve started calling it a picnic pie after it proved to be a total winner at a park lunch with friends – when their then 3 year old son devoured slice after slice, annoying my husband immensely, as he was hoping to take the leftovers home. It soon became my standard picnic contribution. It’s also a very regular feature at home, since it lends itself beautifully to my inability to let leftovers be. I mostly make it as a vegetarian dish, as it’s one of my veggie husband’s favourites, but it also works well with chicken, and, I imagine, ham or sausages. The two ingredients I’m always loyal to when making this are leek, because it gives it a creamy, juicy filling, and halloumi cheese, as it doesn’t just melt all over the pie. Apart from that, it really is a case of whatever is lying around. I am extremely partial to all dark greens, so spinach, kale or broccoli tend to find their way to the filling too. This latest edition has a lot of spinach, and a combination of various greens I used last week in a veggie ravioli: swiss chard, mustard greens and endive. I also had some sage, which I believe is always a happy addition to vegetarian dishes.

IMG_0361 IMG_0340 IMG_0343 IMG_0345 IMG_0346 IMG_0347

The dough remains loyal to the pasqualina recipe I first tried many years ago: water, flour and quite heavy handed on the olive oil, resulting in a pie case that is rich and fragrant, and also sturdy enough to hold the juices from the leeks and courgettes. I keep a bottle of supermarket’s own, non extra virgin olive oil just to make this dough. Save the expensive stuff for the filling and other more noble ends.

Since I am clearly not serving this pie to the queen, I decided I was allowed to crack a couple of eggs in it, and let them to cook as the pie baked. My friend at work had brought some very fresh eggs from his chickens, and I just had to use them. As I say, it is not the picture of refined cuisine, but I never met anyone who doesn’t love this pie.  Served warm with salad – tomatoes and mint works wonderfully – or cold straight from the fridge after the pub, it always disappears in seconds.

IMG_0349 IMG_0351 IMG_0354 IMG_0357 IMG_0360 IMG_0365 IMG_0366 IMG_0367

Picnic pie

22 cm (9 in) loose bottomed pie tin

oven: 180C ( 375 F)

baking time: 30 min

For the dough:

  • 300 g all purpose flour
  • 100 ml water, room temperature
  • 100 ml olive oil
  • a pinch of salt

For the filling, use whatever combination of vegetables work for you. This is what I’ve used this time:

  • 1 orange pepper
  • 1 courgette
  • 1 onion
  • 1 leek
  • 200 g fresh spinach
  • a handful each of swiss chard, mustard greens and endives
  • 4 eggs
  • salt, black pepper and nutmeg
  • 50 g parmesan
  • 150 g halloumi cheese. If you can’t find halloumi cheese, then provola is also a good choice.
  • a handful of green olives
  • 8 leaves of sage.

Make the dough:

In a bowl, mix the water, oil and salt. Gradually add the flour and mix it with your fingers until the dough comes together. You may not need the full 300 g. The dough takes no time to come together and should feel quite greasy.

Turn it onto a lightly floured surface and knead only a little bit until it feels uniform . I firmly believe this is what gives my wooden worktops their fresh shine. The regular oily dough kneading.

Wrap it in cling film/plastic bag and leave it in the fridge for 30 minutes or more. It is fine to leave it overnight.

Prepare the filling:

Chop the onions and gently fry it in good extra virgin olive oil until translucent, about 3 minutes.

Add the chopped leaks and cook for another 5 minutes, until both are soft.

Chop the peppers and courgettes and add them to the onion/leeks, cooking for another 3 to 5 minutes, erring on the undercooked side. Remember this will keep cooking for a good 30 minutes in the oven.

Add all the greens gradually into the pan and close with a lid at each addition, leaving it to cook for about 30 seconds before the leaves wilt. Keep mixing the leaves into the main mixture, then adding some more.

Season with salt, pepper and ground nutmeg.

Mix everything well and turn off the heat.

Transfer the mix into a bowl to cool down a little, 15 to 20 minutes.

Assemble the pie:

While the filling is cooling, remove the dough from the fridge. Set aside about a quarter of it to make the lattice later.

Open it with a rolling pin on a floured surface and line the baking tin.

Beat 2 eggs with a fork and set about 3 tablespoons aside. You will use it later to egg wash the dough.

When the filling has cooled down, add the beaten eggs, grated parmesan, the olives and halloumi.

Mix everything well and fill the prepared tin with it.

Open the remaining dough and cut stripes approximately 0.5cm wide and slightly longer than the pie tin.

With your fingers (or a teaspoon if you insist), make a couple of holes inside the filling and crack an egg inside each hole.

Cover the pie with the dough stripes, making a lattice pattern over it. Seal the end of each stripe against the pie case. Brush the top of the pie with the remaining eggs.

Bake it at 180C (350F) for 30 to 35 minutes. It’s ready when the dough has turned golden and firm.

IMG_0381

To keep the thrifty spirit going, the remaining scraps of dough work very well as a fried snack:

IMG_0369 IMG_0370 IMG_0371 IMG_0373

Bring all the remaining bits of dough together to form a ball and open it as thinly as possible onto a floured surface.

With a cookie cutter, cut small rounds until you have used all the dough.

Sprinkle some grated parmesan over it and pat it with your fingers so the cheese sticks to the dough.

Pour extra virgin olive oil into a frying pan and warm it, but don’t allow it to get smoking hot. Keep it on medium heat.

Fry a couple of sage leaves until crispy, then fry the dough discs for about  30 seconds on each side, until puffy and crispy on the outside.

Open a bottle of wine and drink a healthy glass with the fried dough while you wait for the pie to bake.

IMG_0376